Stonehenge sky replacement


In this exercise I had to replace the sunny sky from the original picture of Stonehenge to a cloudy sky. I did the using photoshop.
Mixing animals
In this exercise, I had to find pictures of different animals on the internet and mix them together using photoshop to make it look like one animal.


Using a green screen with photoshop
For this exercise I had to replace the green background with a sky. I did this by clicking select and the colour range. Then I had click on the green background to make sure that all of the green was selected. Next, I clicked invert. After that I clicked the mask button to remove the background.
Then, I had remove the green colour bleed. I did this by adding adjustment layer with hue/saturation effect on it. Finally I selected the green colour bleed and set the saturation to 0.


Fake News Ideas
-
Alien Invasion
-
Alligator found at the park
-
Dog diving a car




Fake News
UFO Spotted


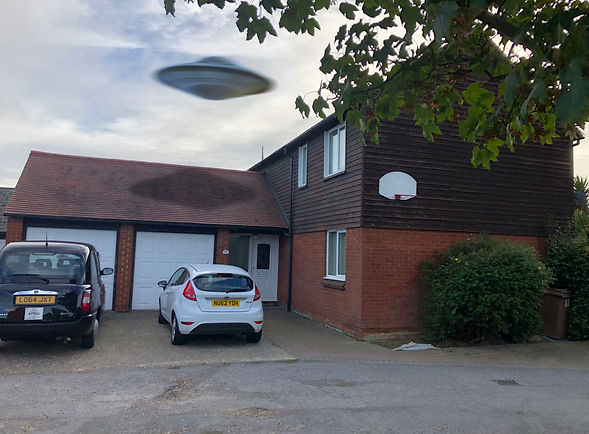
1. Use the quick selection tool to select the UFO
2. Press the mask button
3. Copy and paste the UFO into the picture of the house.
4. Use curves to make sure that the colour of the UFO fits into the picture of the house.
5. Duplicate the UFO.
6. Use the stroke effect on the second UFO and set it to 250 to make it black.
7. Move the second UFO to the roof.
8. Set the second UFO's opacity to 30%.
9. Add a motion blur effect to the first UFO.
Alligator in park


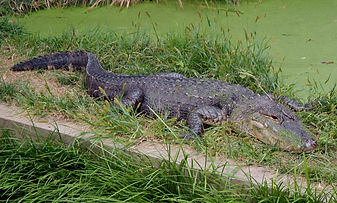
1. Use the quick selection tool to select the alligator and some of the grass around it.
2. Press the mask button
3. Copy and paste it into the picture of the park.
4. Use curves to make sure that the colour of the grass is the same as the grass on the park picture.
5. Click on the curves layer mask and use a black brush to remove the alligator from the effect but keep the grass.
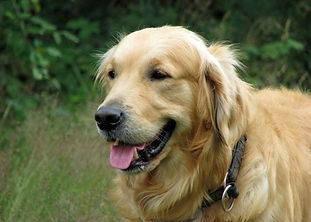
Dog Driving car


1. Use the quick selection tool to select the dogs head and neck.
2. Press the mask button
3. Copy and paste the dog into the picture of the car.
4. Use curves to make sure that the colour of the dog fits into the picture with the car.
5. Click on the dog's layer mask and use a black brush to remove the dog's body to make it look like the door is in front of it.
Bond gadget - Apple watch
The watch is able to automatically store the strap inside the main body.


When the strap is not stored inside it, you are able to store other things inside it.

It is also able to move around using wheels that come out from underneath it.


If you press the button on the front it activates the laser.

How it was made
Main body
1. Create a cube and make it 4.4x3.5x1.0.
2. Round the corners using the bevel tool.
3. Delete the top 1/3.
4. Select the top edge all of the way around and extrude it in.
5. Extrude it down.
6. Cap the hole using the "Fill Hole" tool.
7. Select the faces on the side where you want he button to be and extrude it in.
8. Scale down the faces together slightly.
9. Extrude it back out so it is in line with the main body.
10. Edge loops around the button.

Screen
1. Create a cube and make it 4.4x3.5x1.0.
2. Round the corners using the bevel tool.
3. Delete the bottom 2/3.
4. Cap the hole using the "Fill Hole" tool.


Digital Crown
1. Create a cylinder that has a radius of 0.26 and a height of 0.15.
2. Insert new edges that are close to the two end faces using the edge loop tool.
3. Select the two end faces and scale them down.
4. Press "3" to smooth.
Hinge

1. Create a cylinder that has a radius of 0.075 and a height of 2.2.
2. Use the edge loop tool so you have two large pieces and three small pieces.
3. Separate them using the "separate" tool.
4. Cap the holes using the "Fill Hole" tool.
5. Bevel the edges of all of the parts.
6. Create a cube and make it 0.95x0.04x0.15.
7. Bevel all of the edges on the cube.
8. Duplicate the cube.
Strap
1. Create a cube that is 0.1x0.4x4.0.
2. Extrude it so that is that is the rough shape of the strap.
3. use the edge loop tool to create squares where the holes are going to be.
4. Delete the squares.
5. Bridge the holes.
6. Use the edge loop tool around the top and bottom edges of the strap.
7. Press "3" to smooth.

Tire
1. Create a pipe with a radius of 2.8, a height of 4 and a thickness of 0.4.
2. Change the subdivision axis to 50.
3. Create 3 edge loops on the outside face of the pipe.
4. Select all of the outside faces of the pipe.
5. Click on the extrude tool and turn off "Keep faces together".
6. Scale down all of the faces slightly and extrude them out to 0.065.
7. Select all of the middle points and rotate them anti-clockwise.
8. Select the two rows of points next to it and rotate them clockwise.
9. Create an edge loop on each side of the pipe.
10. Select the inside faces and scale them together slightly.
11. Delete the inside faces.

Lighting and materials
I did the lighting by using the panoramic mode on my phone to make a HDRI map.
I made the materials and rendered it using Arnold.
I use the aishadowmap material to create shadows and reflections on the table.


New York Project

First I 3D modelled some assets to put on the roofs and around the building.


I then created the basic layout of the city. I did this by using cubes and created the Empire State building to put in the background.

Next, I created some day time lighting using the aiphysicalsky and the aiskydomb

After that I added a plane behind and added a New York texture to it.

I then added detail to the closest building.
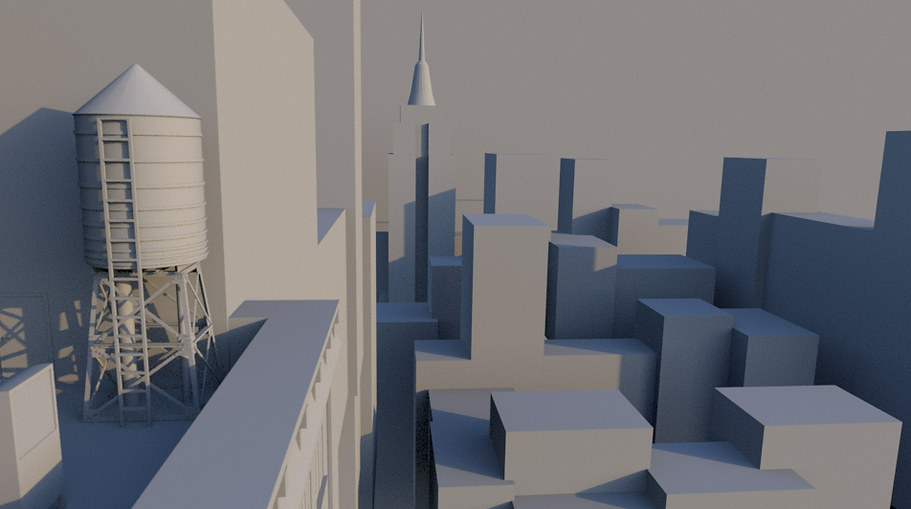
Next I imported the building into substance painter to add textures to it

I then created two more buildings and made them detailed. I also put models on top of the buildings and used substance painter to texture them. I used these three buildings to make the whole city.

Next, I created two more camera angles.


After that, I created an evening lighting environment.

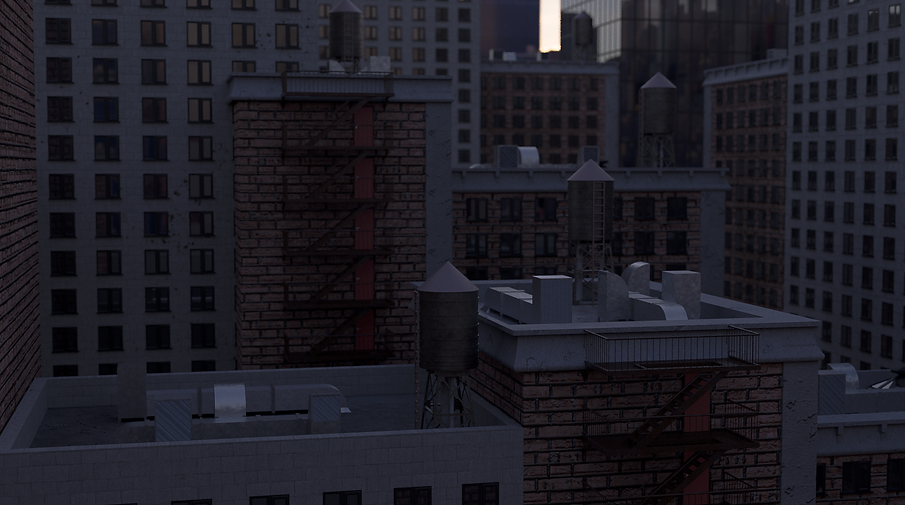

Finally, I took the images into photoshop to do some light colour correction.


Time Leap - Old train station
Train
First, I got a picture of a side view of an orthographic drawing of an old steam train.

I then imported it into Maya as an image plane.

I used the image as a reference to create the 3D model

I 3D modelled half of it and then I mirrored it to create the other side.


I then took it into substance painter to add some textures to it.

Finally, I exported the materials from substance painter and applied them to the model using aistandardsurface. Then I exported the model into Sketchfab.
Carriage
First, I got a picture of a side view of an orthographic drawing of an old steam trains carriage

I then imported it into Maya as an image plane.

I used the image as a reference to create the 3D model

I then took it into substance painter to add some textures to it.

Finally, I exported the materials from substance painter and applied them to the model using aistandardsurface. Then I exported the model into Sketchfab.
Train and Carriages
I then imported the carriages scene into the train scene and rendered them using Arnold.

Station
Tracks
First, I made the tracks. I did this by creating the basic shape of the tracks on top of a bit of gravel. Then I imported it into Substance Painter to add some texture to it. I used the height map as a displacement map to add more detail to the gravel.
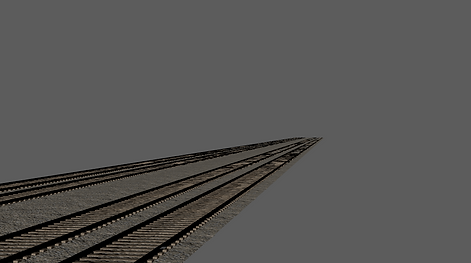
Train and Carriages
Next, I imported my the train and carriages that I made previously. I made the track actual sized so and didn't make the train so I had to scale it up to fit.
Platform
Then, I made the platform. I did this creating a cube and making it the size of the platform. Then I Put an edge loop around the top and extruded the inner side in. I imported it into substance painter and made the inner side brick and the top concrete. I hade to make the texture high resolution because I knew that they would be close to the camera.
Buildings
Next, I made a building to go next to the platform. I used this picture as a reference... https://www.flickr.com/photos/151351902@N02/35134804402


Extending the platform
After that, I grouped the platform and the building and duplicated it. I moved it so that it looked like it was one long platform. I also added a cover over the platform in some places.

Grass
Next, I added some grass between the buildings. I created the grass by creating a plane and exporting it into substance painter. I added a grass texture to the grass and added a displacement map to add more detail.

Tree's
Then, I imported a tree that I used in a previous project. I duplicated it and put it on all of the pieces of grass.

Clocks
After that, I added some clocks. I connected the top of the clocks to the platform cover by using a cylinder.

Benches and bins
Next, I added some benches and bins. I added these to add some decoration to the platform.

The other platform
Then, I copied the platform and mirrored it onto the other side.

Background
After that, I added a plane and added a picture of a tree line. I used this to cover up the horizon line and make the scene look more realistic.

Lighting
I then added in an aiPhysicalSky and an aiskydomb. I used the aiskydomb for the sky and some lighting and I used the aiPhysicalSky to make the light even more detailed.

Renders


I imported the images into photoshop and added some steam coming out of the top of the train.


Finally, I did some basic colour grading to improve the colours in the final image.


