Skeleton Animation
I was provided with a 3D model of a skeleton and some motion capture data.
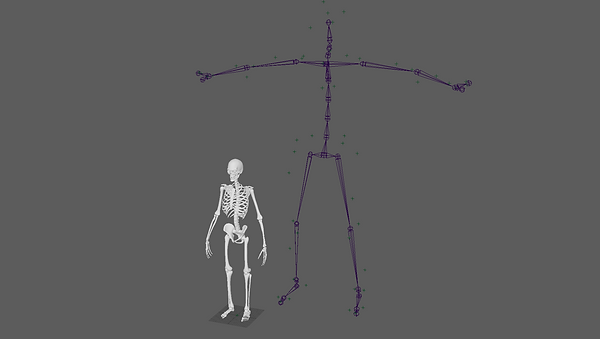
First, I went onto Human IK and used the Quick Rig tool on the skeleton. I changed it to step by step to have more control where the joints are.
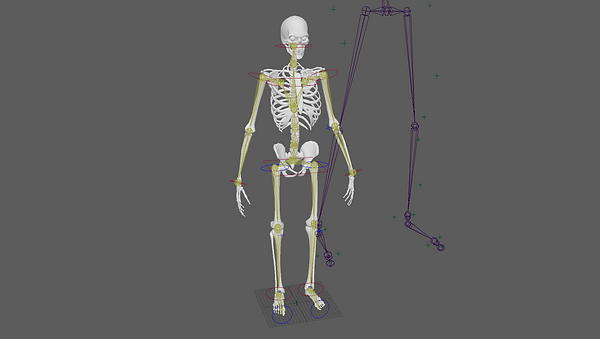
Next, I went on to Human IK and used the Create Character Definition function on the motion capture data. I then had to say which bones on the rig corresponded to the bones in the picture.

After that, I went back onto the skeleton and changed the source from Control Rig to the motion capture data. This made the skeleton copy what the motion capture data was doing. However, some of the bones were stretching in weird ways.

To fix this problem, I used the Paint Skin Weights tool.

Final Playblast
Robot Animation
First, we had to define the area that we could record in. We did this by waving around a stick with red lights on it to fill in the area on the screen.

Next, we had to add the tracking marker.
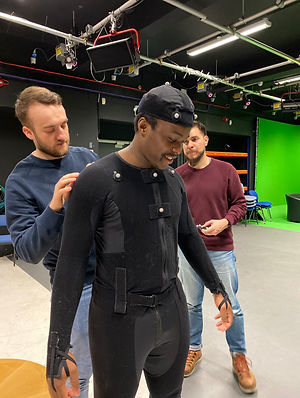
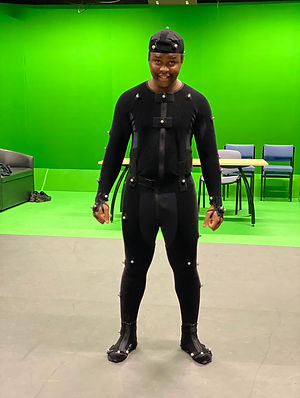
After that, we calibrated the system. He had to move into different positions so the system could understand it when he was acting.
Next, we recorded him. We made sure that we stared and ended with a T-pose so we could add it to our character easier later. These are a few of my favourite takes...
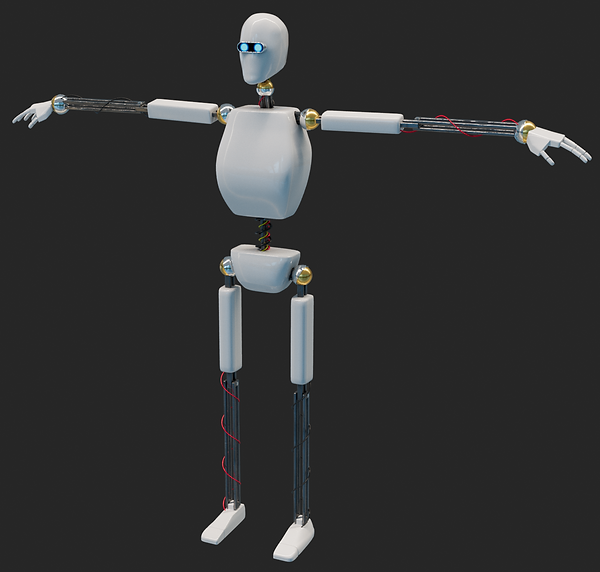
Then, we exported them from the motion capture software and imported the ones that I liked into Maya. I also imported a robot which I had 3D modelled and rigged.
Next, I used the Human IK system and selected the robot and then clicked "Create Character Definition". I then had to match the joints on the robot to the joints on the picture. I also di the same for the motion capture data.

After that, I set the character to the robot and the source to the motion capture data. The made the robot copy the motion capture data movements.
The motion capture software did not record the fingers, so I had to animate them myself. I then rendered each animation using Arnold.
Using the time editor
First, I imported a the motion capture data of the actor walking.
Then I clicked "Windows/Animation Editors/Time Editor". I then selected to root joint of the character and clicked "Add selected content from scene". I then trimmed the clip to the length I wanted.

Next, I right-clicked in the time editor and clicked import animation clip. I used a clip of someone running and jumping. I trimmed to clip to the length that I wanted and the put it next to it in the time editor. I then selected on the clip and clicked "Relocate/Match Relocators...". I selected the left foot and clicked the button next to the name. I then clicked match. This aligned the second animation with the first one. I then extended the second clip into the first one to make them blend together.

Finally, I added another animation of the actor punching. I used the same method to add it to the previous clips.

Using the Camera Sequencer
First, I opened the file that I had used before to combine the different motion-capture animations. Then, I added two cubes and made them bigger so it looked like he was jumping between two buildings
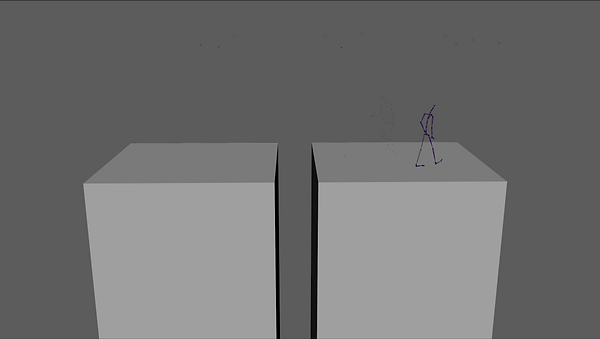
Then, I created multiple cameras and animated.
I then clicked "Windows/Animation Editors/Camera Sequencer". I clicked "Create/Shot" and made it the length of the timeline. I right-clicked on it and clicked changed the camera to the first one in the sequence. Then, I moved the camera to when I wanted it to cut. Then I right-clicked the shot and clicked split shot and made the second shot the second camera. I did this until I had all of the cameras in the sequence.
Finally, I wanted to make the shot of him jumping slow motion. To do this I extended the length of the shot by clicking and dragging the number on the bottom right of the shot.
Depth of Field Test
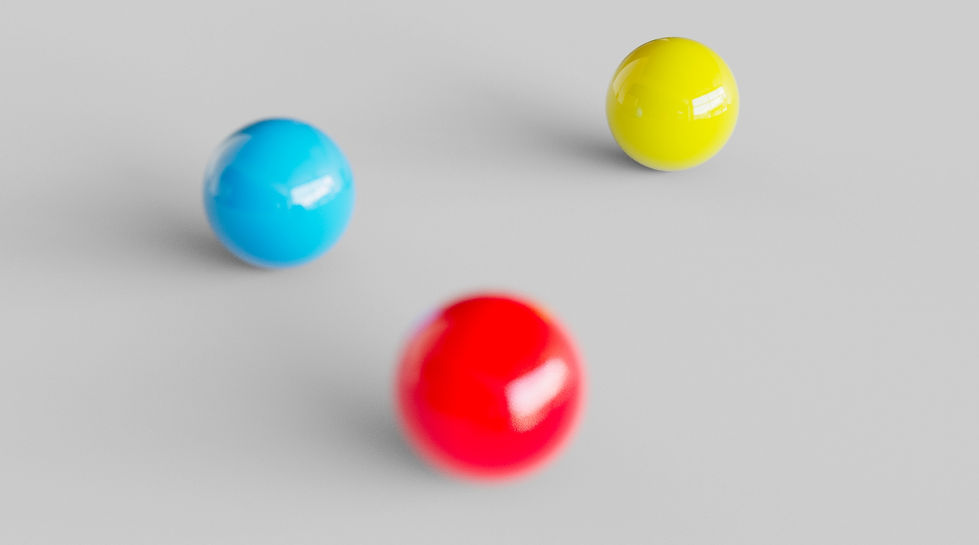
First, I created the scene. I added a plane and then arrange three spheres on top of it. I then created a camera and set the focal length to 50. Then I move the camera to the shot that I wanted to get.

I then added a HDRI and added materials to the balls and plane.

To add depth of field to the shot. I need to click "Display/Heads Up Display/Object Display". If I clicked one of the balls I could see the distance from it to the camera. I then had to put that into the focus distance in the depth of field tab in the camera settings. To render it in Arnold I had to put it in the focus distance in the Arnold tab.


Assignment 2
For this assignment, I had to create a more complicated animation using the animation clips we already recorded. I did this by using the time editor to blend animations together. I also used two characters in the scene.
I started by importing the animation I wanted to start with. Then, I click "File/Import Animation Clip". I blended them together by overlapping them. I then selected on the clip and clicked "Relocate/Match Relocators...". I selected one of the feet and clicked the button next to the name. I then clicked match. This aligned the second animation with the first one. I repeated this process until I
had a finished animation for one of the characters. I made the second character in the same way but in a different scene. To combine the two animations I had to rename all of the joints of one of the characters.
Next, I imported the robot character from the previous animation. I then rotated the shoulder joints so it was in a T-Pose and then created a character definition in the "HumanIK" system. I then made the animation the source of the robot.
I animated the hands and fingers manually. I had to do this because the motion capture software does not record fingers.
Here is a playblast of the finished animation.
I then imported the new york scene that I created for the Digital Toolbox module last year and aligned it with the robots.
Next, I adjusted one of the buildings to fit more with the animation. I then duplicated it and rotated it for the other one. I created new UV's and materials for the new buildings and everything on them.
Then I adjusted the feet and hand placement for the robots. I did this by using the HumanIK system and clicking on the joint. I then adjusted the IK blend value. If that could not fix it then I would adjust the Mo-Cap joint setup by changing the keyframes or by moving it up or down.
Here is a playblast of the animation on top of the buildings.
After that, I imported the building into Substance Painter and textured the rooftop. I also used Substance Player to texture the bricks by using "Polligon Brick Generator".
Then, I applied all of the textures to the models in Maya. I also used the brick texture for some of the other buildings. Using the brick generator allowed me to get a very detailed texture because I could tile an 8K texture.
Next, I created the camera movements for the animation. I did this by using one camera that jumped around all of the different views. When there was a cut I had to turn off motion blur for the frames before and after, otherwise the image would be blurry for them frames.
Here is a playblast of the animation with camera movements.
Then, moved the buildings in the background so the camera could not see the horizon. This makes the scene look more realistic.
After that, I did the lighting. I created the lighting using an AiPhysicalSky and an AiSkydomb. I started with the AiPhysicalSky because it gives a realistic result. However, the sky looks very boring. So, I used an AiSkydomb to add a HDRI sky to it which I made only affect the camera and reflections. I also added some depth of field.
Finally, I rendered it and imported it into after effects. I then adjusted the colours and added sound effects. I also added an ambient occlusion pass to have more realistic shadows.
Finished Animation